
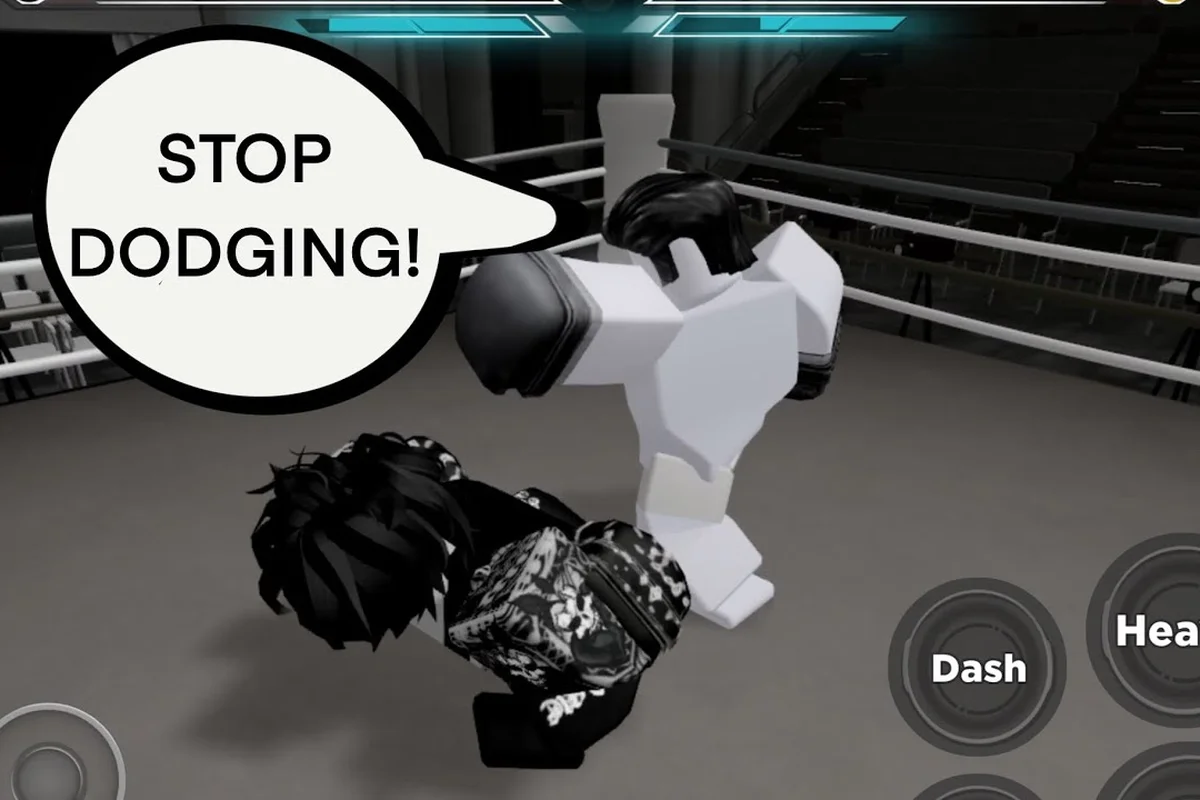
Stamina is the hidden scoreboard in Untitled Boxing Game. The Untitled Boxing Game stamina break state — that helpless ~2 second lockout when your stamina hits 0% — is where most pub matches are decided, and learning how to force it is the single biggest leap you can make as an intermediate player. This guide breaks down exactly how stamina drains, why the light punch vs heavy punch economy matters, and how to chain perfect dodges into confirmed guard breaks that end rounds.
How Stamina, Health, and the Break State Connect
Untitled Boxing Game splits every fighter's life pool into three distinct states that new players routinely conflate, and confusing them is exactly why most beginners can't tell when a stamina break is winnable versus a death sentence. The split matters because each state reacts differently to incoming pressure: solid HP never regenerates, dark red HP recovers only during downtime, and transparent HP is gone forever — so tracking which color is actually shrinking tells you whether trading M1 light punch chains is safe or whether absorbing that M2 heavy punch has already cost you the round. Treat the three bars as a single resource with three recovery rules, and every later concept in this guide — stamina break punishes, perfect dodge timing, and guard break confirms — snaps into focus.
-
Solid (full HP) — your untouched health. It does not regenerate once chipped.
-
Dark red (regenerable) — damage dealt by M1 / untitled boxing game light punch chains. It ticks back up if you stop taking pressure for a moment.
-
Transparent (permanent) — damage dealt by M2 / untitled boxing game heavy punch and by ultimates. This chunk is gone for good.
Stamina is the second meter, and it is what unlocks the stamina break. Every attack you throw or absorb costs or restores a slice of that bar. When the bar empties, your character is stunned for about two seconds, during which you cannot block, dodge, or strike — and your opponent can land a fully confirmed punish combo for massive damage. According to community data captured in Truffle's HOW TO PERFECT DODGE EVERY STYLE IN UBG video, the break is consistent across every fighting style, which means the punish windows are universal — only the routes that force the break differ by style.
Stamina Economy at a Glance
| Action | Stamina Effect | HP Type Inflicted | Break Potential |
|---|---|---|---|
| M1 / light punch (single) | Small drain on attacker | Regenerable (dark red) | Low |
| M1 string (3–4 hits) | Moderate drain on attacker | Regenerable (dark red) | Medium |
| M2 / heavy punch | Large drain on attacker | Permanent (transparent) | High |
| Blocking (held) | Drains defender steadily | None | High if held too long |
| Successful perfect dodge | Restores stamina + i-frames | None | Indirect (enables counter) |
| Stamina break (0%) | Locks victim ~2 sec | Free punish window | — |
| Ultimate | Heavy drain both sides | Permanent (transparent) | Max |
The takeaway is simple: the untitled boxing game heavy punch is the heaviest stamina commitment in your kit, but it is also the cleanest way to chew through a defender who is turtling. If you spam M2 blindly, you will break yourself before you break them — that is the most common mistake intermediate players make.
Light Punch vs Heavy Punch: The Damage and Stamina Trade-Off
Choosing between an untitled boxing game light punch and an untitled boxing game heavy punch is not a damage optimization problem, it is a stamina-flow problem. Your goal every exchange is to make the opponent's bar empty faster than yours does.
Comparing the Two Punches
| Attribute | M1 / Light Punch | M2 / Heavy Punch |
|---|---|---|
| Stamina cost to attacker | Low | High |
| Stamina cost to defender (on hit) | Low–Medium | High |
| HP type dealt | Regenerable (dark red) | Permanent (transparent) |
| Speed | Fast | Slow |
| Best use | Pressure, pokes, stamina-safe chains | Break turtling, finish regenerable HP, close rounds |
| Risk if whiffed | Low (fast recovery) | High (long recovery, punishable) |
| Block break interaction | Builds toward break over multiple hits | One or two clean M2s often break a fresh guard |
Light punches are the economy of your stamina. You can throw a four-hit M1 string and only spend a small slice, while chipping the opponent's regenerable HP and nudging their stamina bar downward. Heavy punches are the spend: they convert your stamina into permanent HP loss and often force an untitled boxing game block break on contact. The art is sequencing — you want to land M1 → M1 → M1 → M2, not four M2s in a row, because the M1 string sets up the M2 to land clean and finish the bar.
This trade-off is also why you should never use heavy punches as a wakeup tool. Wakeup M2 on a knocked-down opponent costs you huge stamina and is highly whiff-punishable. Wakeup M1 into block is safer, then look for the perfect dodge that opens the punish.
The Perfect Dodge Window: How to Force Clean Punishes
The perfect dodge is the single highest-value defensive tool in Untitled Boxing Game, and it is what makes forcing an untitled boxing game stamina break realistic in a live match. According to community testing summarized in Truffle's breakdown and reinforced in Zel's perfect-dodge compilation, every style has a specific dodge direction that gives the longest invincibility window — but the timing window itself is universal.
Perfect Dodge Timing at a Glance
| Phase | Frames (approx.) | What Happens |
|---|---|---|
| Pre-dodge | — | You read the opponent's windup (hand dip, step-in, flash) |
| Dodge input | 0–2 frames after the read | You press the dodge button |
| i-frame window | ~6–10 frames | Your character is invincible |
| Recovery | ~12 frames | You can act (counter, light punch, sidestep) |
| Miss penalty | Full punish combo | If you dodge early or late, you eat the hit |
The window is small but generous compared to most fighting games. You do not need frame-perfect inputs. You need a clean read of the untitled boxing game perfect dodge timing — which is the moment the opponent's attack animation commits (arm extended, step planted). If you dodge as the hit would connect, you get i-frames, restore a chunk of stamina, and emerge in a position where a confirmed punish is available.
Style-by-Style Dodge Direction (Community Report)
| Style | Recommended Dodge Direction | Notes |
|---|---|---|
| Basic | Forward then back | Standard i-frame; works against most strings |
| Smash | Side-step | Best for sidestepping the smash arc |
| Hammer | Back | Avoid the hammer's wide swing arc |
| Long Guard | Forward | Dodge through the opponent to punish |
| Trickster | Back | Trickster's mixups are baited by backdashing |
| Counter | Forward or side | Counter punishes on read, dodge only the committed hit |
| Charge | Back | Charge has long windup — backdodge then punish |
Per the Coverzeen direction guide, these directions are community-verified as of 2026-09-14. Patch updates can shift exact timing — re-test in the training room whenever the developer ships a new build.
Forcing the Block Break: The Real Path to a Stamina Break
A guard break is the bridge between "I am pressuring" and "the opponent is helpless." When the defender's stamina reaches 0% while they are still holding block, the result is a untitled boxing game guard break — their block shatters, they stagger for ~2 seconds, and you can land any punish you want.
Blocking drains stamina roughly 2-3x faster than attacking, so every blocked M1 your opponent eats costs them more stamina than it costs you to throw, and every blocked M2 drains a huge chunk of their bar at the cost of nearly draining yours — meaning the player who refuses to commit to big swings and instead stacks short M1 chains will always outpace the aggressor in stamina break races, even if the round looks slower on screen.
-
M1 chains while the opponent blocks steadily tick their stamina down. A four-hit M1 string into block drains more stamina than it costs you — small but consistent.
-
M2 heavies while blocked do massive stamina damage but cost you a lot in return. One blocked M2 often leaves both of you low.
-
Mixed pressure (M1 → feint → M1 → M2) is the most efficient break route because it forces the defender to guess between holding block and dodging — and the wrong guess breaks their stamina bar.
Before you even touch the table below, internalize the timing windows that make each step actually land: M1 strings need to be thrown inside the defender's 0.3s input delay so they cannot interrupt, feints must be cancelled before the 0.15s M2 windup animation completes, and the finishing M2 should connect on the same frame their perfect dodge i-frames end — missing any of these windows lets the defender parry or counter-shove, resetting the entire untitled boxing game stamina break sequence and wasting the stamina advantage you already built.
| Step | Action | Stamina Goal |
|---|---|---|
| 1 | Throw an M1 string while they hold block | Drain ~15% of their stamina |
| 2 | Reset spacing, throw another short string | Drain another ~15% |
| 3 | Feint a heavy (tap M2 then cancel) | Force them to hold or dodge — both cost stamina |
| 4 | Land a clean M2 on block or on a hesitation | Drain the last 20–30% |
| 5 | Confirm punish when their bar hits 0% | Free combo, often round-winning damage |
If you find your own stamina bar depleting faster than your opponent's during a pressure sequence, the cause is almost always M2s landing on block when the defender still has stamina to absorb the hit cleanly. A blocked M2 at full defender stamina costs you roughly 25–30% of your own bar, so spamming heavies into a fresh guard is a losing trade even when it "looks" like you're pressuring. Swap to pure M1 chains for two exchanges, let the 0.3s input delay window keep you safe from interrupts, then re-enter the break sequence once your stamina recovers past 60% — this single habit shift is what separates players who consistently land a untitled boxing game stamina break from those who gas out before the bar hits 0%.
Reading When the Break Is Coming
The visual cue for an imminent stamina break is the bar itself flashing or emptying, plus the opponent's block animation briefly stuttering. Audio cues (a heavier hit sound, a brief stagger) usually accompany the exact moment the break triggers. If you play with sound on, you can often hear the break half a second before you see the animation, which is enough time to charge a heavy punish.
Punish Routes After a Confirmed Stamina Break
A stamina break is not just "free damage." It is a confirmed combo window where the defender's guard is fully bypassed, and the punish you choose signals how well you understand the matchup — a 4–5 hit heavy punch route tests your damage optimization, while a light punch string followed by a perfect dodge reset reveals your pressure-and-evasion sequencing knowledge.
Punish Priority by Style
| Style | Best Post-Break Punish | Reasoning |
|---|---|---|
| Basic | M2 → M1 string → M2 | Highest raw damage on a stationary target |
| Smash | M2 → ultimate charge | Smash ultimates deal huge transparent damage |
| Hammer | M1 string → M2 → M1 | Keeps you close to land the full hammer arc |
| Long Guard | M1 string → M2 | Long Guard's punish range is shorter |
| Trickster | M2 → M1 → sidestep | Trickster's mixup potential opens after the break |
| Counter | M2 → counter bait → M2 | Counter punishes are devastating on stunned targets |
| Charge | M2 → held charge release | Fully charged M2 deletes remaining HP |
The biggest mistake intermediate players make after a break is panic-throwing a long combo and whiffing the last hit, which lets the opponent wake up and counter-punish. A clean three-hit confirm is almost always better than a full flashy string you cannot land. If you want to learn how individual styles chain into the break, the Trickster style deep-dive shows how that style's mixup tools feed directly into a guard break.
Common Mistakes That Prevent the Stamina Break
Even players who already understand how stamina break interacts with M1 pressure, M2 trades, and perfect dodge timing still fail to force the break in real matches because of a handful of recurring execution habits. Most of these are not theory gaps but muscle-memory problems — panic-M2ing after a blocked string, dodging on the windup instead of on the commit frame, or chasing the slow debuff without first confirming the stamina bar is actually depleted. Cleaning up even two or three of these habits will raise your break rate more than learning any new combo, because the break is a punishment window you have to enter cleanly before the heavy punch confirm.
-
Throwing raw M2s. A blocked M2 trades stamina inefficiently and whiffed M2s are devastating to eat. Always set up M2 with M1 pressure first.
-
Pressing after your own whiff. If you whiff a heavy, the opponent's punish combo will often break your stamina. Reset and recover instead.
-
Ignoring regenerable HP. Stacking M1 damage on dark red HP looks flashy but the bar regenerates. Land an M2 to convert that chip into permanent damage.
-
Dodging on read, not on commit. Perfect dodge timing is when the opponent's attack commits, not when you first see the windup. Early dodges leave you in recovery when the hit lands.
-
Not blocking at all. Aggression without block discipline is how you end up on the wrong end of the break. Use block to make the opponent pay stamina for their pressure.
-
Pursuing the slow debuff without planning. The slow debuff mechanic chains naturally with stamina breaks — a slowed opponent cannot escape the punish — but only if you set it up before the break triggers.
Another subtle one: do not confuse basic M1 and M2 input behavior with the stamina logic. M1 and M2 are inputs, but their stamina cost depends on the style, the range, and whether the opponent is blocking. Re-read the M1/M2 reference whenever a new style feels "off" in terms of stamina drain.
Frequently Asked Questions
What is the Untitled Boxing Game stamina break?
It is the ~2 second lockout that triggers when your stamina bar hits 0% during combat. While broken, you cannot block, dodge, or strike, and the opponent can land a fully confirmed punish combo. The break is identical across every fighting style, so the only variable is how you force it.
How does the untitled boxing game heavy punch differ from a light punch in stamina terms?
A light punch (M1) costs you a small slice of stamina, deals regenerable dark-red HP, and is fast. A heavy punch (M2) costs a large slice of stamina, deals permanent transparent HP, and is slow but devastating. M1 is your stamina-safe pressure tool; M2 is the spend that actually breaks the opponent's guard.
When is the perfect untitled boxing game perfect dodge timing?
It is the moment the opponent's attack animation commits — typically when the striking arm is fully extended or the planted foot locks. Press dodge during the ~6–10 i-frame window that follows, and you will restore stamina, gain invincibility, and emerge in position to confirm a punish. Dodging earlier puts you in recovery before the hit lands; later and you simply get hit.
How do I force a guard break consistently?
Build pressure with M1 strings while the opponent holds block, mix in feinted M2s to force hesitation, then land a clean M2 on either a held block or a mistimed dodge. The combination of repeated M1 chip damage and one or two committed M2s is what drains the opponent's stamina bar to 0% and triggers the break.
Does the stamina break punish the same way for every style?
The break state is universal — every style is locked out for the same ~2 seconds. The punish combo that follows varies by style: smash and charge styles convert the window into huge ultimate or charged-M2 damage, while trickster and counter styles use the window to set up mixups that can snowball an entire round.